Editing in Processwire and Next9
You may edit your website using Processwire, a simple content management system (CMS). This CMS has many features, but basic edits are pretty simple to do.
Logging In
1. In your web browser (like Firefox, Chrome, Internet Explorer or Safari) open a tab with your public website.
2. Now open a second tab. Log in at http://YOUR WEBSITE NAME/admin with the username and password you were provided. If you do not know this information, click the Forgot Password link, and it will be emailed to you.
Selecting Page to Edit
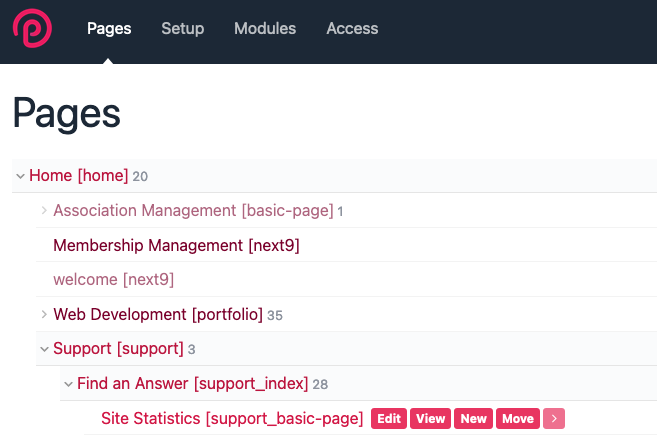
3. Once you are logged in, you should be taken to a page headed Admin > Pages. (If you are using the Next9 membership management system, click Pages in the black menu to go to this screen.) There you will see a list of pages that are in your main menu. If you have submenus, click on the main menu name, and the pages in the submenu will appear. Click on the page you wish to edit, and a menu will appear to the right of the page name. Click on Edit.
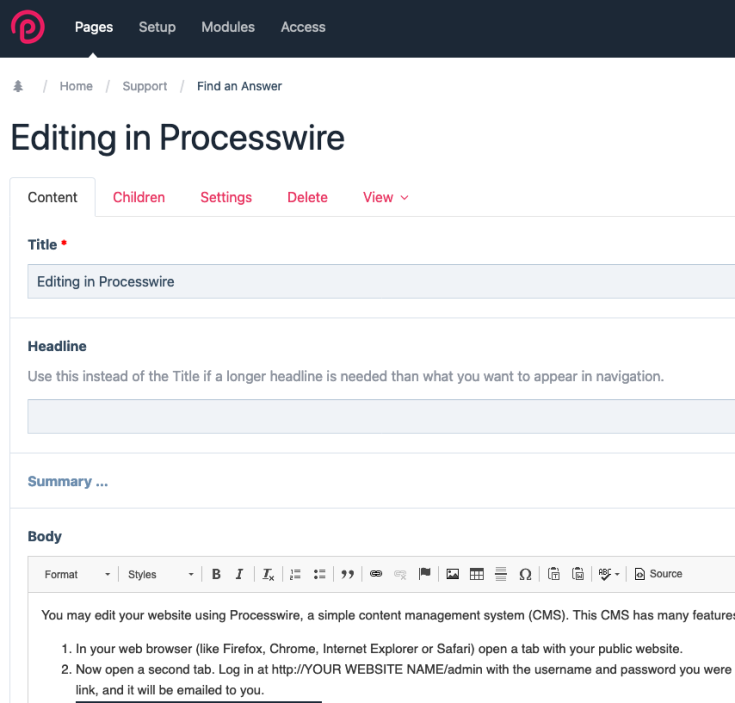
4. The screen where you can edit a page is headed with a menu that includes Content, Children, Settings, View. You should be taken directly to the Content screen. Below that, you will see a series of editable fields.
Editing Text
5. The Title field should not need to be edited. This field is the short name that appears in the menu of your site.
6. The Headline field is optional. You may use this to display a name at the top of your page that is different than the Title above, if you wish.
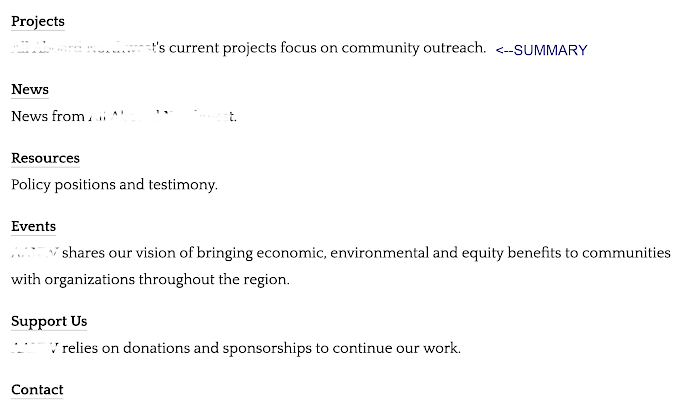
7. The Summary field is also optional. It does not generally appear on your site, unless we have told you that it does. The Summary field sometimes shows as the description of a page when listing child pages.
8. The Body field is where you will make text changes. You may edit or add text here. You may also paste text from other programs like Notepad, but you should not paste directly from Word or Outlook, since those programs add extraneous formatting. See also the Editing Text article for more details.
![]()
Inserting Links
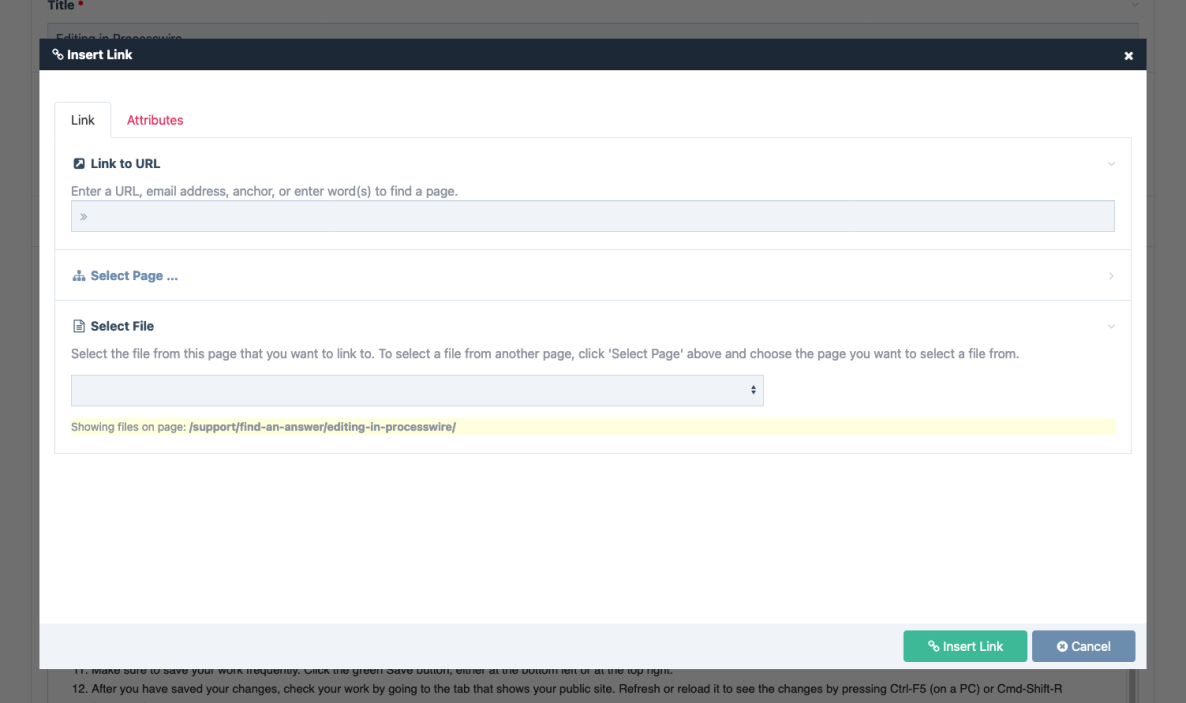
9. You may make links. Highlight the word(s) you want to link, then click the Insert Link icon in the row of icons immediately above the Body text area.
--To make a link to another website, enter its web address (starting with http:// ) in the Link to URL field. Click the green Insert Link button.
--To make a link to another page on your website, click Link to Page. You will be shown a list of the pages on your site. Click the page you want to link to, then click Select. Click the green Insert Link button.
--To make a link to a file that you have uploaded (see below), click Link to File and select the file name. Click the green Insert Link button.
Inserting Images
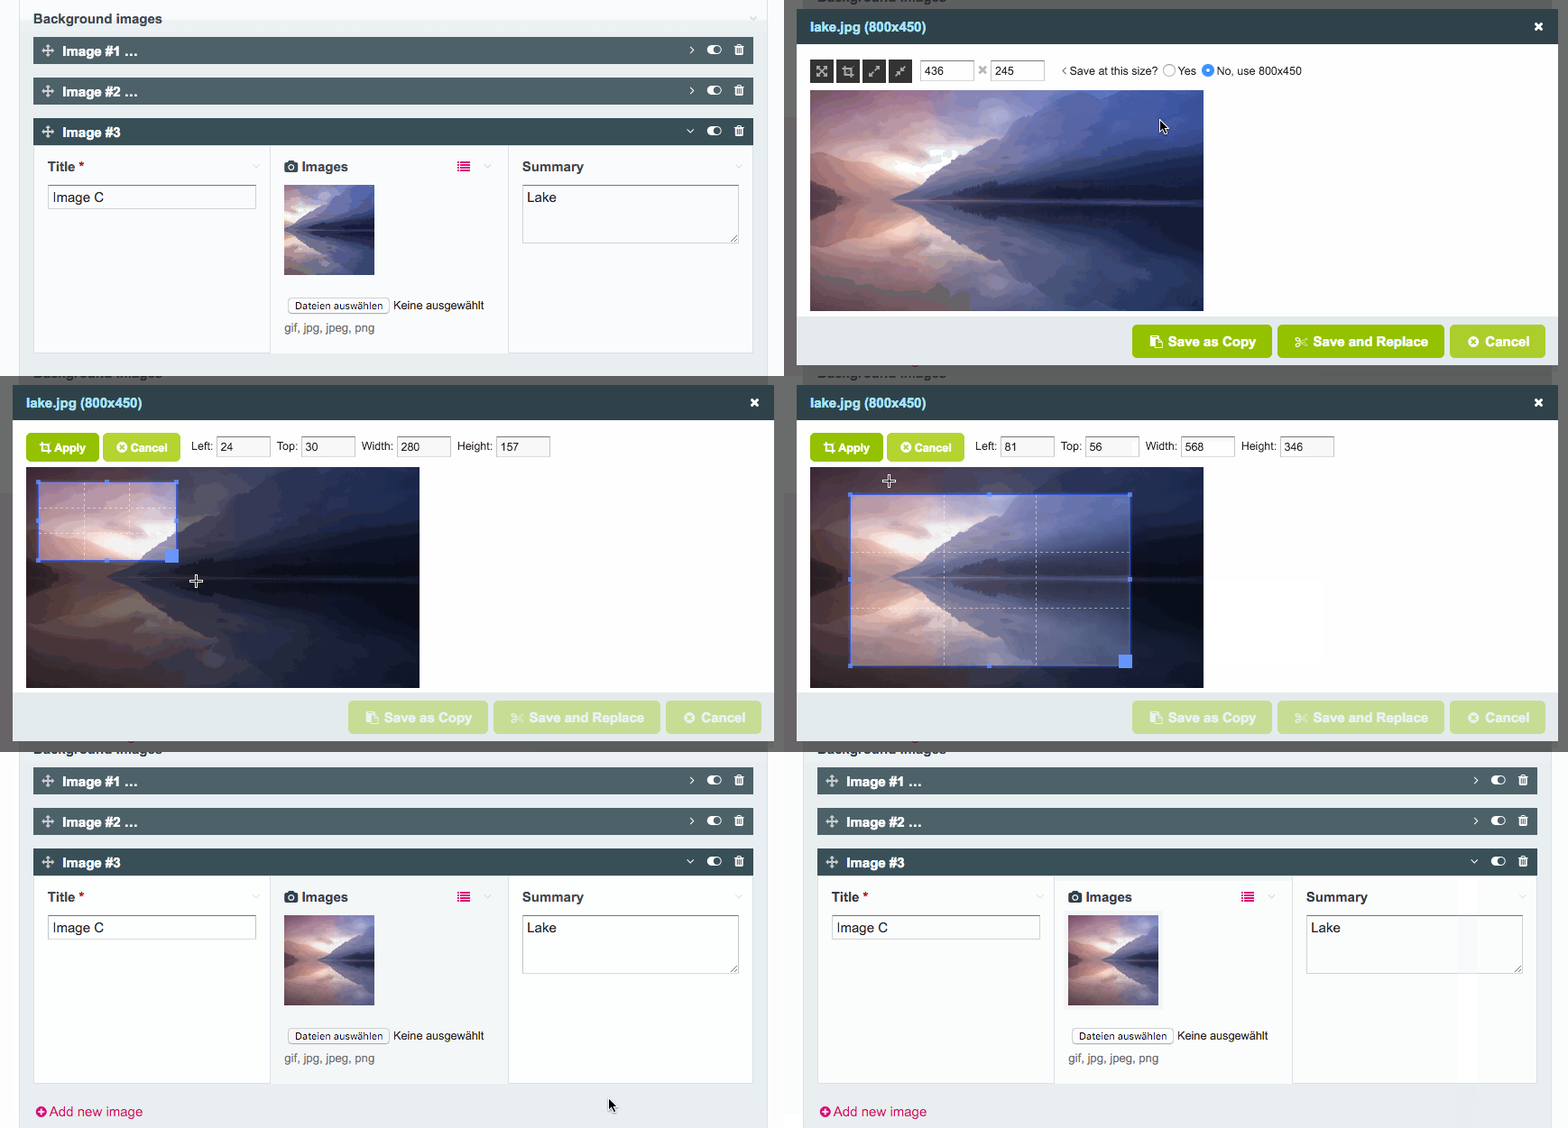
10. You may also add images and documents by uploading them in the appropriate locations below the Body field.

Once images have been uploaded, you may add them to the Body by clicking the Image icon above the Body field.

You can also place, resize and edit them. Experiment to see what each icon does.

(courtesy Smashing Magazine).
Saving Your Work
11. Make sure to save your work frequently. Click the green Save button, either at the bottom left or at the top right.
Checking Your Work
12. After you have saved your changes, check your work by going to the tab that shows your public site. Refresh or reload it to see the changes by pressing Ctrl-F5 (on a PC) or Cmd-Shift-R (on a Mac).
